
Diamond Bar Wood Flooring handles wood floor refinishing in Diamond Bar, CA, and has sanded and finished hardwood for more than 20 years, serving surrounding cities including Walnut, Rowland Heights, South San Jose Hills, Pomona and Brea. We take tired, scratched and discolored floors back to bare wood, color them if you want a new tone and build a finish that holds up to real family traffic.
Most refinishing calls here come from houses built in the 1970s and 1980s, the decades that hold most of Diamond Bar’s housing, where oak laid decades ago has faded, turned amber or worn gray at the doorways. Plenty of those floors have decades of life left in them, and refinishing costs far less than tearing them out.
Before we sand, we confirm when the house was built, check how much wood remains above the tongue and test for wax or silicone polish that would stop a new finish from bonding. Those three checks decide whether your floor gets a full sanding or a lighter recoat.
Full Sanding, Screening and Recoating
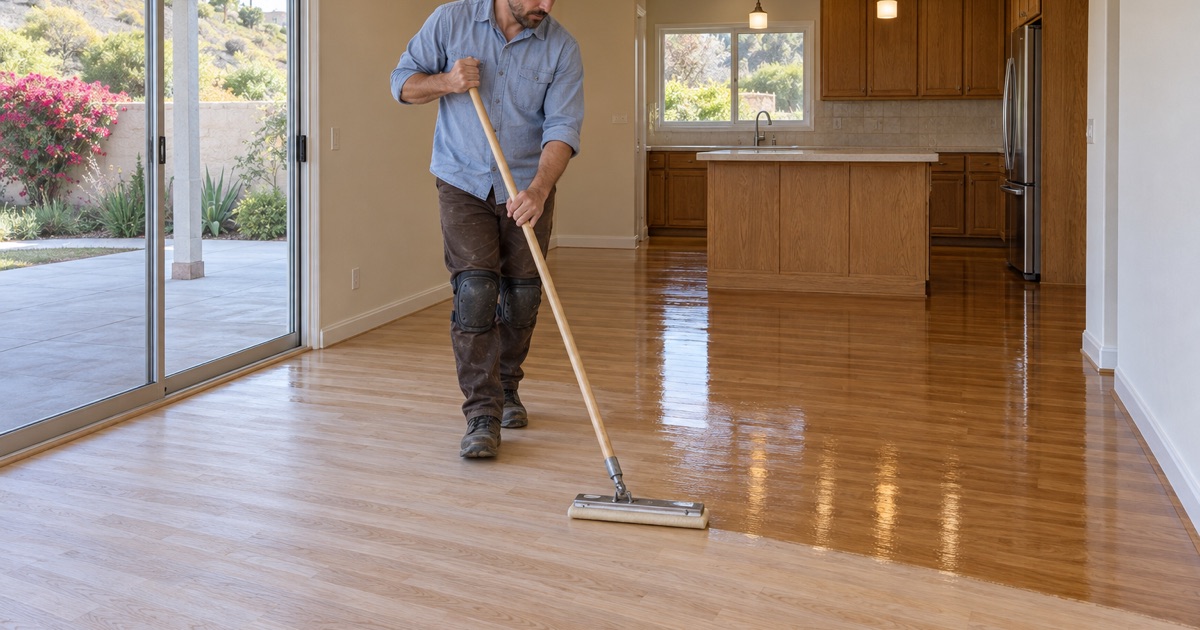
Full Sand and Refinish on Bare Wood
A full refinish removes the old finish and a thin layer of wood with a drum sander in the field, an edger along the walls and a multi-head orbital sander to blend the two. We move through a grit sequence from coarse to fine so the scratch pattern from each pass is erased by the next. Skipping grits is what leaves the swirl marks you see when light hits a floor at an angle.
This is the only method that removes deep scratches, gray water marks, pet stains near the surface and sun fading. It is also the step that allows a color change, since stain needs raw wood to penetrate evenly.
Screen and Recoat for Worn Finish
When the finish is dull and scuffed but no wear has reached the wood, we abrade the existing coating with a buffer and screen, vacuum and tack the floor, and apply a fresh topcoat. The wood itself is untouched, so the floor keeps its thickness for a future sanding. A recoat takes a fraction of the time and cost of a full refinish, and it is often the right choice for engineered floors whose thin wear layer we would rather not spend.
The limit is adhesion. A floor cleaned for years with polish or wax will reject a new coat, so we test a small area before promising this option.
Deciding Between the Two Methods
We walk the floor with a light at a low angle and look for bare wood in traffic lanes, gray boards and scratches that catch a fingernail. If any of those show, a recoat only seals the damage in. If the wear is confined to the finish layer, the lighter job protects your wood and your budget.
Timing also plays a part. A recoat every few years on a busy floor delays the day it needs a full sanding, and each full sanding removes wood that never comes back. Owners who keep the finish maintained usually get far more years out of the same boards than owners who wait until the traffic lanes turn gray.
Color, Species and Stain Choices
Red Oak, White Oak and Maple
Red oak turns up in many older Southern California tract houses and has open grain with a pink cast. White oak has tighter grain, a more neutral base and takes cool and gray stains well. Maple is dense and smooth, which makes it prone to blotching under dark stain, so we often recommend a clear finish or a conditioned light tone on it.
Stain Samples on Your Own Floor
We apply several stain samples to a sanded section of your actual floor, including across plain-sawn and rift-sawn boards when both are present, and let you see them dry in your own light. A color picked from a small showroom board rarely lands the same on a floor that has been down for decades. Choosing on site avoids the most expensive kind of redo.
We also show what each sample looks like under the finish you have chosen, since a waterborne topcoat and a hardwax oil shift the same stain in different directions. Once you approve a color, we record the stain name and mix so a later repair or an added room can be matched.
Sheen Level and How It Hides Wear
Matte and satin finishes hide fine scratches and dust far better than semi-gloss or gloss, which reflect every mark in a room with afternoon sun. Most families with kids or dogs choose matte or satin. We show you a sample of each sheen level so the decision is made on the floor, not from a brochure.
Finishes Built for the South Coast Air District
Waterborne Polyurethane
Modern two-component waterborne polyurethane dries clear, stays close to the natural color of the wood and cures to a hard, scratch-resistant film. It also fits within the South Coast AQMD Rule 1113 limit of 275 grams per liter of VOC for wood coatings, which governs any contractor applying or storing finish at your house. We pair it with a compatible sanding sealer so the topcoat bonds evenly.
Waterborne systems also let a household get back into a room sooner than the solvent finishes of past decades, with far less lingering odor. That matters in an occupied house where the kitchen, hallway and bedrooms connect through the rooms being finished, and it is part of why we plan coats around the family’s daily route through the home.
Hardwax Oil Finishes
Hardwax oil soaks into the wood rather than forming a film on top, giving a low-luster, natural look that many owners choose for white oak. Worn areas can be spot-refreshed without sanding the whole room. It asks for more regular maintenance than polyurethane, which we explain before you choose it.
For a busy entry or a kitchen with a dog, a film finish usually makes more sense, and for a quiet living room or bedroom with wide white oak boards, hardwax oil can be the better fit. Some owners use both, matched in tone, with the transition at a doorway.
Why Older Oil Finishes Are Off the Table
Traditional oil-modified polyurethane gave the warm amber look many older floors still show, but not every solvent-based product sold in other states fits under the Rule 1113 limit. Rather than stop a job to swap products, we plan compliant systems from the first estimate. If you want some warmth back, a tinted sealer or a warm stain under a waterborne topcoat gets close.
Our Step-by-Step Wood Floor Refinishing Process
Step 1: Inspection and Build-Year Check
We confirm when the house was built, since paid renovation in housing built before 1978 falls under the EPA Lead Renovation, Repair and Painting Rule. We also measure remaining wood, test for wax and note boards that need replacement before sanding.
Step 2: Repairs and Containment
Damaged boards are cut out and woven in, and nail heads are set. We then seal doorways and returns and connect HEPA dust extraction to every machine so the rest of the house stays clean.
Step 3: Sanding, Stain and Sealer
The floor is sanded through its grit sequence, vacuumed and inspected under raking light. Stain goes on after you approve a sample, followed by the sanding sealer. Any gaps or nail holes are filled with a wood filler tinted to the approved color before the sealer goes down, so the fill does not show as a pale dot under the finish.
Step 4: Topcoats and Written Cure Schedule
We apply the topcoats with light screening between them. Before we leave, you receive a written schedule stating when the floor takes socks, shoes, furniture and area rugs, because each stage of a cure carries a different load.
- 20+ Years of Wood Floor Work
- Free In-Home Estimates
- Dust-Contained Sanding